
How to Pitch a Tent in Strong Wind: UK Step-by-Step
Published 19 August 2026
The exact order of operations for pitching a tent when the wind is already blowing: windward corners first, poles kept low, double-pegged guylines, and the pegs that actually hold in UK ground.
We earn commission from qualifying Amazon purchases. It costs you nothing and does not affect what we recommend.
Quick Answer
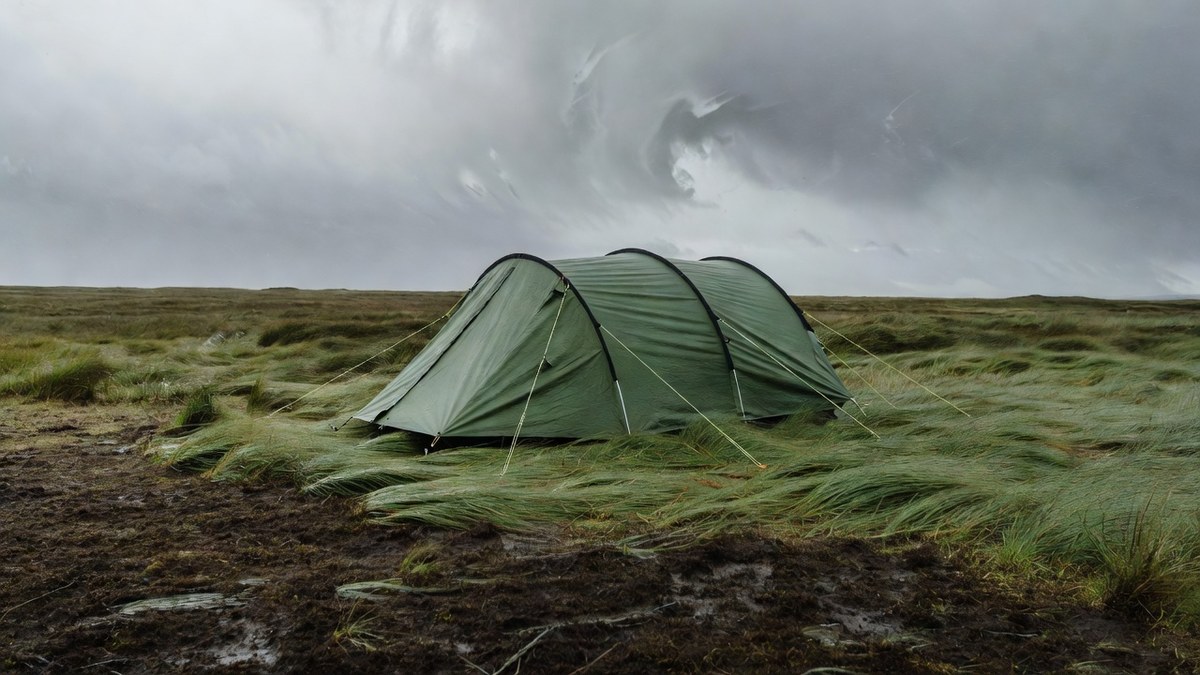
Pitch with the narrow end into the wind and peg the two windward corners before anything else - a tent only becomes a kite while it is loose. Work kneeling, raise the poles from the pegged windward end, then deploy every guyline and double-peg the windward side. If gusts are already over 30 mph, the level at which the Met Office says most tents start to take damage, do not pitch at all: find shelter lower down or sit it out in the car.
You are standing in a field, the wind is already up, and the flysheet is snapping like a flag and doing its best to leave. Most advice about camping in wind is written for the planning stage: what tent to buy, which campsite to book. This guide is for right now. It gives you the exact order of operations for getting a tent up safely while the wind is blowing - windward corners first, poles kept low, every guyline working - plus the pegs that actually hold in different UK ground, the truth about pop-ups, and how to get the tent down again without destroying it. One number frames everything: the Met Office says winds over 30 mph can damage most tents. Below that, technique wins. Above it, the honest answer is often to move or wait.
Check the wind and pick your pitch
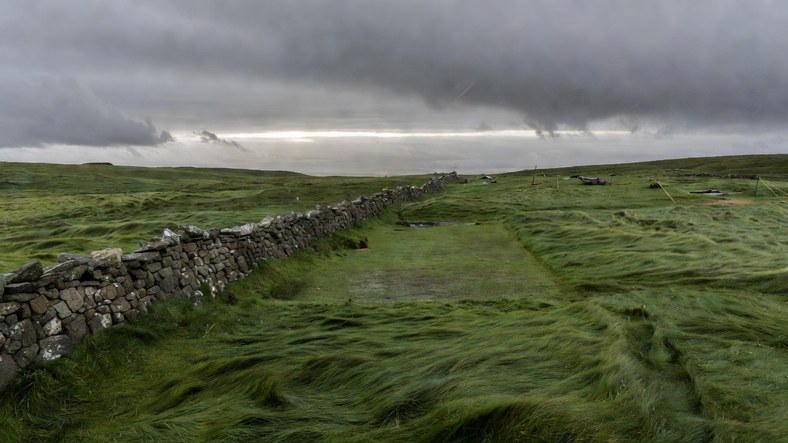
Before the tent bag comes out, make two decisions: whether to pitch at all, and where. The Met Office says winds over 30 mph can damage most tents, and the Camping and Caravanning Club puts the comfortable range for most designs at 25 to 30 mph. Treat 30 mph gusts as your line. Wind load rises with the square of wind speed, so a 30 mph gust pushes roughly four times as hard as a 15 mph one, which is why a pitch that feels lively at teatime can be snapping poles by midnight.
Check a forecast that shows gusts, not just the average, and on high ground use a mountain forecast rather than the nearest town. Do not judge by feel alone, but do not dismiss it either: one hillwalker in a well-read UK wild camping thread had a 20 mph forecast, reckoned it felt stronger on the top, and bent his poles before the guylines were down. Treat the gust figure as a minimum rather than a promise.
Reading the ground for shelter
- Get off the high ground. Ridges, summits, clifftops and open beaches take the full force. Dropping off the ridge onto the leeward slope can transform conditions; half an hour of walking downhill has rescued many a camp, and walking is easier than fighting a tent all night.
- Use solid windbreaks at a sensible distance. A drystone wall, building or parked car is an effective shield, but pitch 2 to 3 metres out from it rather than hard against it. Gusts curl over the top and churn right at the base, and walls can shed stones.
- Look for dips and hollows. Even a shallow fold in the ground takes real energy out of the wind at tent height. Check it is not a drainage line first if rain is due.
- Hedge lines, low bushes and long grass all filter wind near the ground without the hazards of trees.
- Avoid the lee of a single tall tree. One tree gives little real shelter, sheds branches in exactly these conditions, and is the worst place to be if the weather turns thundery. Skip gateways and gaps in walls too: they funnel wind and accelerate it.
And the thing nobody selling pitches will tell you: sometimes the right answer is not to pitch. If gusts where you stand are already past 30 mph and no shelter exists, move on, sleep in the car, or go home and rebook. No view is worth a destroyed tent at 2am.
Get yourself ready before the tent
A windy pitch takes 10 to 15 minutes even when it goes well, and UK wind usually brings rain with it. Put your waterproofs on before you unpack anything else - over trousers included, since kneeling on wet turf is part of the job. The 33,000ft over trousers we reviewed have a 5000 mm rating with fully taped seams, and 60 of their 100 most recent buyers stayed dry, with the soakings clustered around cyclists rather than walkers. Get a head torch on your head at the same time: pitching in wind needs both hands, and wind days are dark days. The Blukar two-pack we tested charges by USB-C, runs spotlight and floodlight together and is rain-proof enough for this exact job (IPX5).
Peg the windward corners first
This is the step that makes everything else possible, and the one thing to remember if you remember nothing else. A tent is only dangerous while it is loose. Pegged on the windward side, the wind presses it into the ground; unpegged, the wind gets underneath and turns it into a sail.
- Confirm the wind direction. Face into it and watch the grass. Decide your orientation now, before anything leaves the bag: a tunnel tent pitches foot end into the wind, a dome presents its lowest, narrowest panel, and doors face away from the wind on every design.
- Pegs out first. Open the peg bag and put six pegs in your jacket pocket before the tent is unrolled. Fumbling with a sealed bag while kneeling on billowing fabric is how tents escape.
- Unroll the tent from the upwind end, kneeling on it. Each gust then presses the fabric down onto the turf instead of getting under a free edge and lifting it.
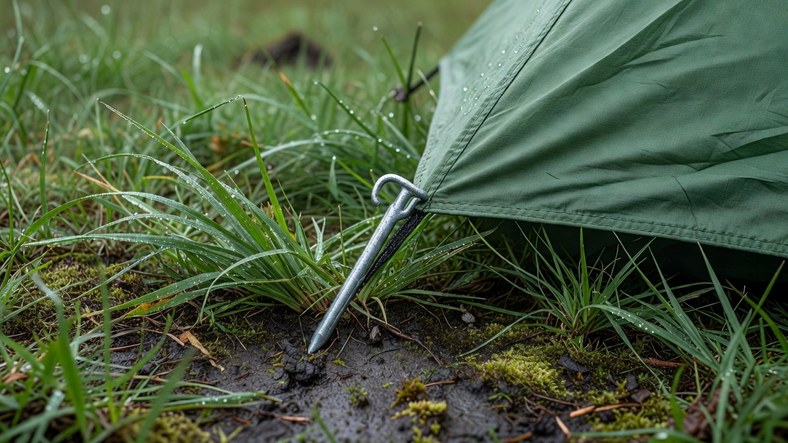
- Peg both windward corners before the poles come out. Drive each peg in at 45 degrees, leaning away from the tent, until only the hook shows above the ground.
- Peg the remaining corners so the whole tent lies flat and pinned: a low fabric footprint the wind cannot grip.
Pitching alone, weight is your second pair of hands. Kneel on the fabric as you work and park your rucksack or a full water carrier on the free end while you peg. And never let an unpegged tent out of your hands or out from under your knees, not for a second. One gust is all it takes.
Raise the poles without losing the tent
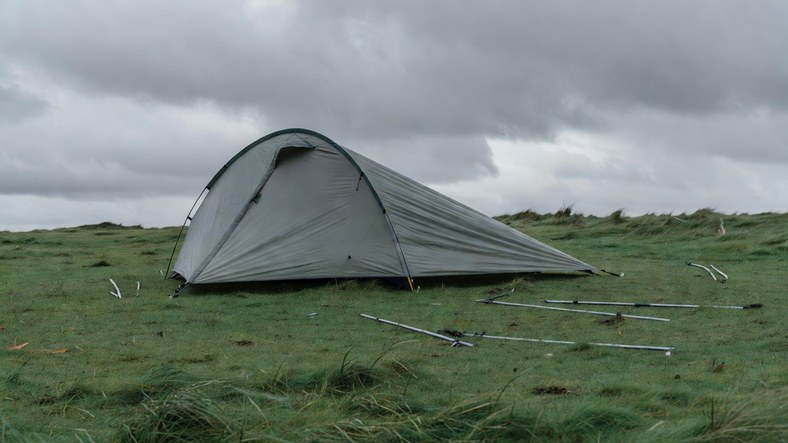
With the corners pinned you can breathe. The aim now is to keep the tent low for as long as possible: flat fabric has almost no wind profile, and every centimetre of height you add is sail area.
- Assemble the poles downwind of the tent and seat every ferrule fully; a half-seated joint is where poles snap. Cheap fibreglass poles give up long before alloy in gusty weather, so pack a repair sleeve whichever you carry.
- Stay on your knees. You present less area to the wind, you can pin fabric while you work, and gusts stagger you less.
- Thread or clip the poles while the tent is still flat, then raise the structure in as few movements as possible.
- Raise the windward end first. The pegged windward corners take the strain, and the wind pushes the rising structure down and away instead of getting beneath it.
- Peg the windward fly edge low the moment the tent is standing. The closer the flysheet hem sits to the turf, the more wind passes over the tent rather than under it.
If your tent pitches flysheet-first or all-in-one, and most tunnel designs do, use that mode in bad weather: the waterproof shell spends the least time flapping and the inner never sees the rain.
Pop-up tents: the honest answer
A pop-up cannot be pitched in stages. It leaves the bag at full volume, instantly, which in strong wind means you are holding a spring-loaded sail. There is no fly-first option and no way to keep it flat while you peg. If you are already committed, open it in the most sheltered spot you can find, in a dip or close behind a vehicle, kneel with the low edge facing the wind, and get the two windward pegs in the second it lands. Pegs go in your pocket before the bag opens, and with two people, one lies across the tent while the other pegs.
The Amflip automatic pop up tent we reviewed shows both sides of the format. It genuinely pitches in about a minute, and its double-skin build with a detachable inner is better thought out than most of the type. But it is a fair-weather tent: our verdict was that it shrugs off rain but is not a winter tent, it realistically sleeps two adults rather than the advertised three, and its recent reviews run noticeably below its lifetime badge. Quick in a calm festival field, the wrong tool for a windy pitch. If the forecast shows gusts anywhere near 30 mph, take a pole tent instead.
Guy out fully and double-peg the windward side
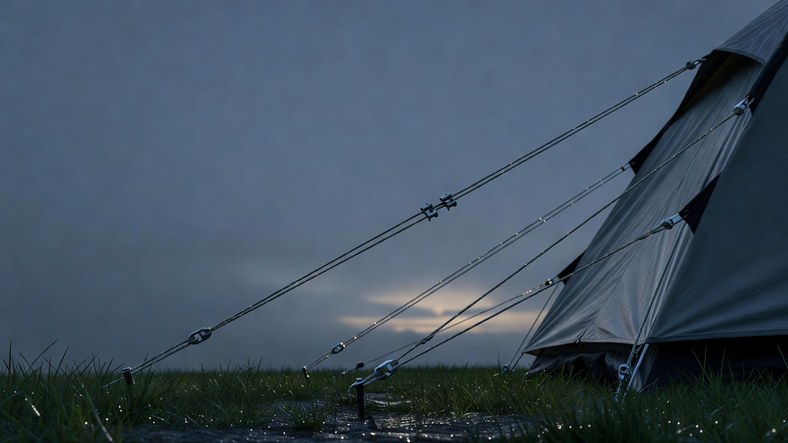
Corner pegs anchor the floor. They do almost nothing to stop the poles flexing, and pole failure is how tents die in wind: one anchor lets go, the load shifts to the next, and the collapse cascades in seconds. Guylines are structural, not decorative. This is the step people skip, and it is the step that keeps tents standing.
- Deploy every guyline the tent has, not just the convenient ones. Dome and other freestanding tents need this most: unguyed, even a decent dome can be flattened by a moderate gust because nothing is bracing the poles.
- Tension until the fabric is drum-taut. Slack fabric flaps, and flapping is what fatigues poles and tears panels. It is usually the gusts that do the damage, and a taut pitch gives them nothing loose to work on.
- Double-peg the windward side. Two pegs in line along the same guyline hold better than two crossed at a single point. Alternatively, run two lines from the same attachment loop out to pegs set half a metre apart.
- Add guylines the tent did not come with. Most tents have more guy loops than supplied lines, and the spare loops are usually on the panels that need bracing most. A set of spare 4 metre lines with proper tensioners lets you use every windward loop: the BHGWR reflective guy ropes we reviewed weigh 37 g each and adjust quickly with aluminium sliders. Two honest caveats: the manufacturer's own listing admits the reflective threads are for dusk visibility rather than true darkness, and the only recurring gripe in the reviews is that the slider takes some getting used to.
- Come back to it. Re-tension 30 minutes after pitching and again before bed. Wet fabric stretches, and rain-softened ground lets pegs work loose overnight.
Match your pegs to the ground
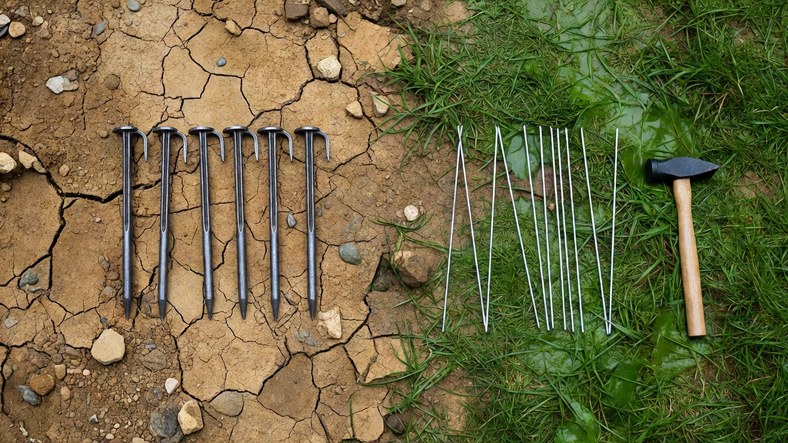
Here is the truth behind most wind failures: the pegs in the tent bag were chosen for weight and cost, not holding power, and whether any peg holds depends more on your ground than on the peg. Match the peg to the ground and an ordinary tent survives a rough night; mismatch it and nothing else on this page will save you.
Hard, baked or stony ground
High summer pitches, compacted field margins and stony upland turf all fold wire skewers. Use a dedicated hard-ground peg: the Blue Diamond Hard Ground Pro pegs we reviewed are 20 cm of tapered galvanised steel with a hooked head, carry the strongest rating in our peg inventory at 4.7 stars across nearly 4,000 Amazon ratings, and drive cleanly into ground that bounces ordinary pegs back out. The recurring complaint is the flipside of the praise: they hold so well that getting them out is the battle, so pack a peg puller.
The Xtremeauto rock pegs are the alternative for the same ground: long galvanised steel that drives into stony pitches well. Know the flaw before you rely on them - the orange plastic head is the weak point and snaps off during extraction. The steel is heavy duty, the plastic is not, so lever them out by the shaft and treat the head as a guide, not a handle.
Soft turf and rain-softened campsites
Skewers work here, but soft ground grips each peg less, so double up rather than trade up. A 50-pack of KEPLIN 23 cm steel skewers is the right tool: cheap enough to use two where you would use one and to give every extra guyline its own anchor. Be clear about what they are, though. 26 of their 100 most recent reviewers reported bending or curling, almost always from being hammered at hard ground. As bulk spares on soft turf they earn their place; on a baked August pitch they are the wrong peg.
And the baseline: the ANSIO 4 mm galvanised skewers are the class of peg most tents ship with, and the cheapest way to carry spares. Our review title said it straight: completely dependent on your ground. In strong wind, pegs like these are also the main reason people fail on anything firmer than soft turf.
Rules that apply to every peg
- Drive pegs at 45 degrees, leaning away from the tent, until only the top centimetre shows.
- On hard ground use a mallet or heavy hammer rather than a handy rock, and stop the moment a peg starts to fold.
- Where nothing will go in, thin soil over rock for example, loop the guyline around a heavy rock instead, ideally wedged behind a second one. Never pile rocks on the flysheet itself: they stabilise nothing and wear holes in the fabric.
Strike camp without wrecking your tent
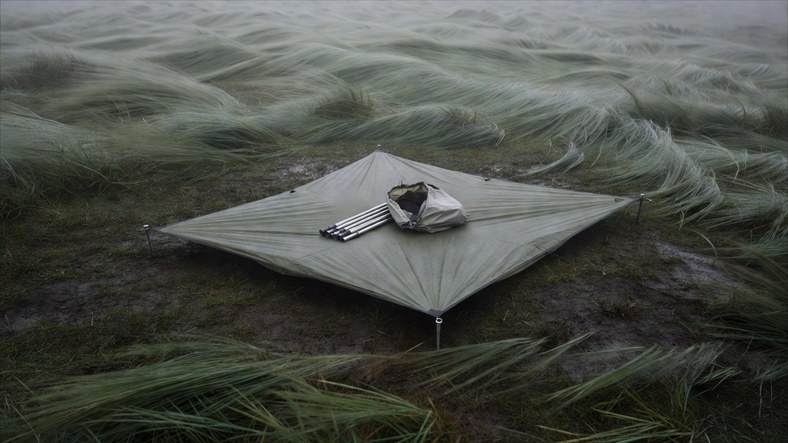
More tents are wrecked coming down than going up, because people unpeg everything and then try to fold a live sail. Striking camp is the pitch in reverse, run by the same rule: the tent must never be loose.
- Pack everything else first. Empty the tent completely, stow bags in the car or clipped to your rucksack, and put waterproofs on. Once the tent starts coming down you will not have a free hand to chase anything.
- Strip the inner while the flysheet stands, if your tent separates. It packs dry, which means a dry bedroom at the next pitch.
- Unpeg the leeward side first: downwind guylines, then downwind corners, while every windward anchor stays in the ground.
- Collapse from the downwind end. Drop the poles one at a time and let the fabric fall flat, still pinned by the pegged windward corners. Kneel on it as you work.
- Stuff, do not fold. Fabric goes into the bag fast and gets folded properly at home. Be gentle with the poles though: letting shock-corded sections slam together damages them.
- The windward corner pegs come out last, with your knees already planted on the fabric.
Extraction is where good pegs bite back. Hard-ground pegs that held all night do not want to leave: pull in line with the shaft using a peg puller or the hook of another peg, and never lever by a plastic head, which is exactly where budget rock pegs snap. Count the pegs back into the bag before you leave, since a lost steel skewer is a menace to mowers and livestock. Then dry the flysheet and inner separately at home before storage. Mildew sets in within days and destroys waterproof coatings.
Frequently Asked Questions
What wind speed is too strong for a tent?
The Met Office says winds over 30 mph can damage most tents, and the Camping and Caravanning Club puts the comfortable range for most designs at 25 to 30 mph. Judge by the gust figure in the forecast, not the average, and use a mountain forecast on high ground. Remember that wind load rises with the square of the speed: a 30 mph gust pushes around four times as hard as a 15 mph one.
Which way should a tent face in strong wind?
Point the smallest, lowest face into the wind. For a tunnel tent that is the foot end; for a dome, the narrowest panel; for wedge and trekking-pole designs, the low tail. Keep the doors on the leeward side, because an open door facing the wind inflates the tent like a balloon, and peg the windward fly edge as close to the ground as it will go.
Can you pitch a pop-up tent in strong wind?
Not sensibly. A pop-up opens to full size the instant it leaves the bag, so in strong wind you are holding a large sail with no way to pitch it flat or fly-first. If you have no choice, open it in a dip or behind a vehicle, kneel with the low edge into the wind and peg the windward points the moment it touches the ground. If gusts near 30 mph are forecast, take a pole tent instead.
What do I do if a pole bends or snaps in the night?
Re-tension the windward guylines first: a drum-taut pitch stops a bent pole flexing further, and a slightly bent alloy pole will usually see out the night and can be straightened gently in the morning. For a snap, slide a repair sleeve over the break and tape it, or splint it with a tent peg and tape if you carry no sleeve. Propping the windward guylines up on walking poles changes their angle and takes load off a struggling pole. If the tent keeps failing, collapse it deliberately, weigh it down with kit and sit the night out low, or retreat to the car. Fighting a failing tent in the dark risks you as well as the fabric.
Related Reading
- 33,000ft waterproof over trousers review
- Blukar rechargeable head torch review
- Amflip automatic pop up tent review
- BHGWR reflective guy ropes review
- Blue Diamond Hard Ground Pro tent pegs review
- Xtremeauto heavy duty rock pegs review
- KEPLIN galvanised steel tent pegs review
- ANSIO galvanised tent pegs review
- What to Pack for DofE Bronze Expedition UK: Full Kit List
- How to Keep Insulin Cool While Camping in the UK
Disclaimer: This article contains Amazon affiliate links. We may earn a small commission from qualifying purchases at no extra cost to you.